Last updated November 18, 2026

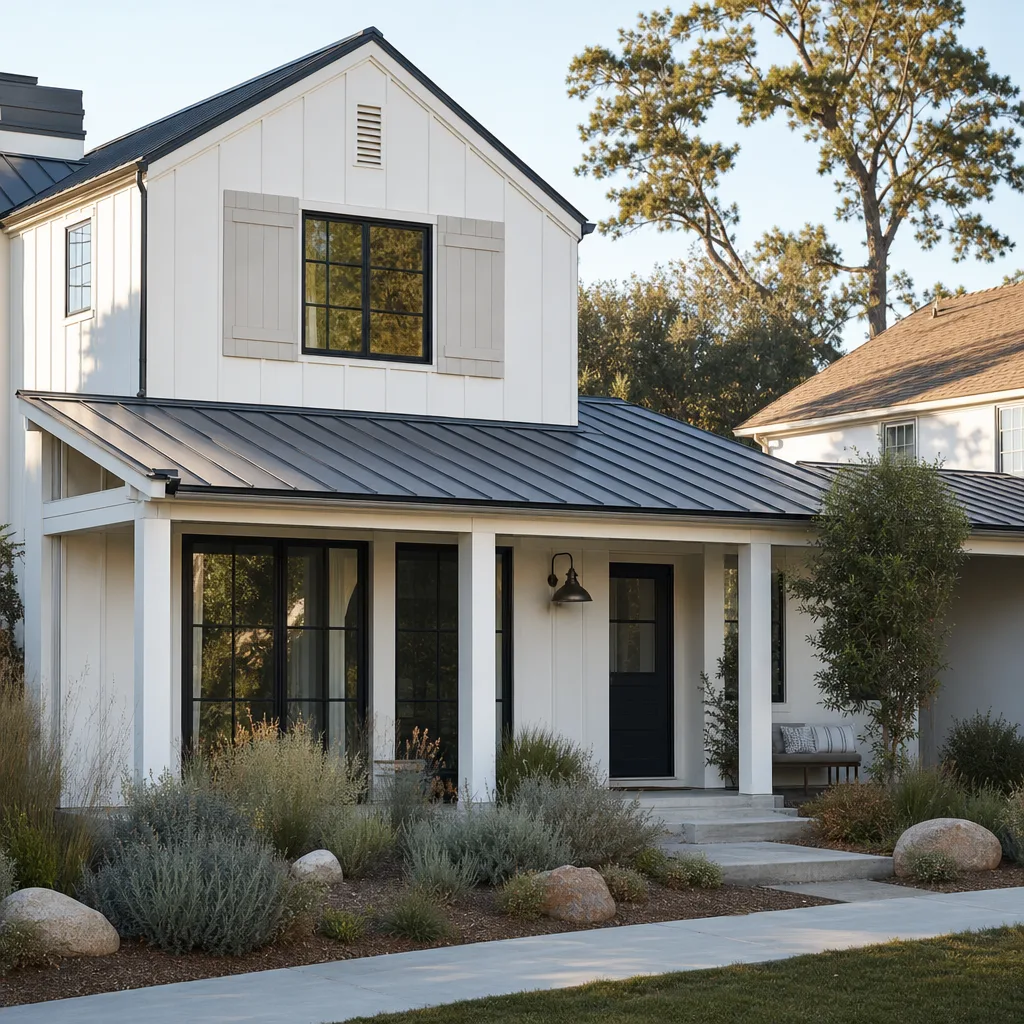
Free written scope consultation - allowances, timeline, and change-order rules on paper before a single trade is scheduled
Construction Emergency Preparedness Guide for Sunnyvale Homes
FEMA recommends a go-bag. What it doesn’t cover is whether your Sunnyvale home’s cripple wall is braced, whether your roof is actually attached to its rafters with the right hardware, or whether your drainage will keep your foundation dry after three inches of rain in a single day. Those three questions decide whether you have a home to come back to, not whether you have bottled water. Sunnyvale sits in one of the most seismically active corridors in California and catches the full force of atmospheric river events coming off the Pacific. This guide covers the construction layer of emergency readiness that store-bought checklists skip: how your structure, roof, and drainage actually perform under stress, what to document before anything happens, and how to move fast afterward.
Quick Answer
Construction emergency preparedness for Sunnyvale homes means reinforcing the structural weak points (cripple walls, garage openings, soft-story conditions), verifying roof attachment and drainage capacity, documenting your home thoroughly before an event, and knowing the post-event damage-assessment sequence so you can act safely and get repairs permitted quickly. Supplies matter, but structure and drainage are what determine whether your home survives a seismic event or a heavy rain season intact.
Styles & brands we work with
- Kitchen remodeling
- Bathroom remodeling
- Home additions & ADU
- Roofing
- Windows & doors
- Driveway & pavers
- Fence
Table of Contents
- Sunnyvale’s Seismic Vulnerabilities: What Your Home Is Built On
- Practical Retrofit Options for Santa Clara County Homes
- How to Assess Your Roof Before Atmospheric River Season
- Drainage and Foundation: Keeping Water Away From the House
- Pre-Emergency Documentation Checklist
- Retrofit Programs and Seismic Safety Incentives
- Post-Emergency Response: Assessing Damage Before Re-Entry
- How to Initiate Emergency Repair Work Quickly
Sunnyvale’s Seismic Vulnerabilities: What Your Home Is Built On
Sunnyvale’s older housing stock sits on foundations built to standards that predate modern seismic requirements. Many homes constructed before 1980 have cripple wall foundations: a short wood-framed wall between the concrete perimeter foundation and the first floor. That wall is the weakest link in the load path. It’s often unbraced, inadequately anchored to the foundation below, and weakly connected to the floor framing above. When the ground moves laterally, an unbraced cripple wall racks and collapses, and the house drops.
The second common vulnerability is the garage opening. Sunnyvale homes with front-facing garages frequently have an entire wall of the first floor interrupted by a wide, unsupported opening. That large opening means less shear wall to resist lateral movement. Add living space above the garage and you have a soft-story condition, where the stiff upper floors ride on a flexible lower level. It’s a known failure pattern in seismic events.
What to look for on your own home, without opening walls:
- Cripple wall: Look in the crawlspace. If you see short wood stud walls on the concrete foundation with no plywood sheathing and no visible anchor bolts, that wall is unbraced.
- Garage opening: Check whether the wall beside the garage door is wide enough to provide shear resistance, and whether the framing above the opening is properly connected.
- Foundation bolting: Look for anchor bolts connecting the wood sill plate to the concrete. Older homes often rely on friction alone.
- Soft-story: If the ground floor is mostly open (garage, large openings, few interior walls) and the floor above is heavy, that’s the condition.
- Water heater and gas connections: Unstrapped water heaters and rigid gas connectors are secondary hazards in any seismic event.
None of this is a do-it-yourself diagnosis. A licensed structural or general contractor can walk the crawlspace and the garage with you and tell you exactly which deficiencies your specific Sunnyvale home has. That assessment is the starting point for everything else in this guide.
Practical Retrofit Options for Santa Clara County Homes
Seismic retrofits fall into tiers, and most Sunnyvale homes need a combination rather than a single fix. Here’s how the work typically breaks down.
- Cripple wall bracing and anchoring. The standard approach sheathes the cripple wall with structural plywood, bolts the sill plate to the foundation, and ties the top of the cripple wall to the floor framing with metal connectors. This is the highest-value retrofit for a pre-1980 home and addresses the most common collapse mechanism.
- Foundation bolting and plate anchorage. Where the sill isn’t bolted at all, adding anchor bolts or retrofit brackets closes the load path between house and foundation.
- Garage wall and opening reinforcement. Strengthening the wall segments beside and above the garage opening with structural sheathing and hardware restores some of the lateral capacity the opening took away.
- Soft-story bracing. Where the ground floor is open, adding a steel moment frame or a braced-frame system gives that level stiffness. This is the larger-ticket item and usually needs engineering.
- Chimney and heavy-element bracing. Masonry chimneys and heavy built-ins need to be tied to the structure so they don’t separate and fall.
- Water heater strapping and flexible gas connectors. Low-cost, high-value items that reduce fire risk after a seismic event.
For Sunnyvale homeowners planning a larger project anyway, it makes sense to fold retrofitting into that work. If you’re already planning a home additions & ADU project, the structural work and permitting can be coordinated so the retrofit happens alongside the new construction rather than as a separate tear-out later. That’s the “one contractor, every trade” advantage in practice: the structural, roofing, and exterior scopes get planned together instead of handed off between separate trades.
How to Assess Your Roof Before Atmospheric River Season
Atmospheric river events deliver concentrated rainfall in a short window, and a roof that sheds ordinary rain fine can fail under that load. The assessment isn’t about shingle color. It’s about attachment, flashing, and drainage.
Attachment hardware. Modern roofing practice ties the roof structure to the walls with metal connectors: hurricane ties and straps that resist uplift. Older Sunnyvale roofs often rely on toe-nailed rafters with no metal connection. In a high-wind event, that’s the difference between losing shingles and losing roof framing. A contractor can inspect the attic and tell you whether the connections are there.
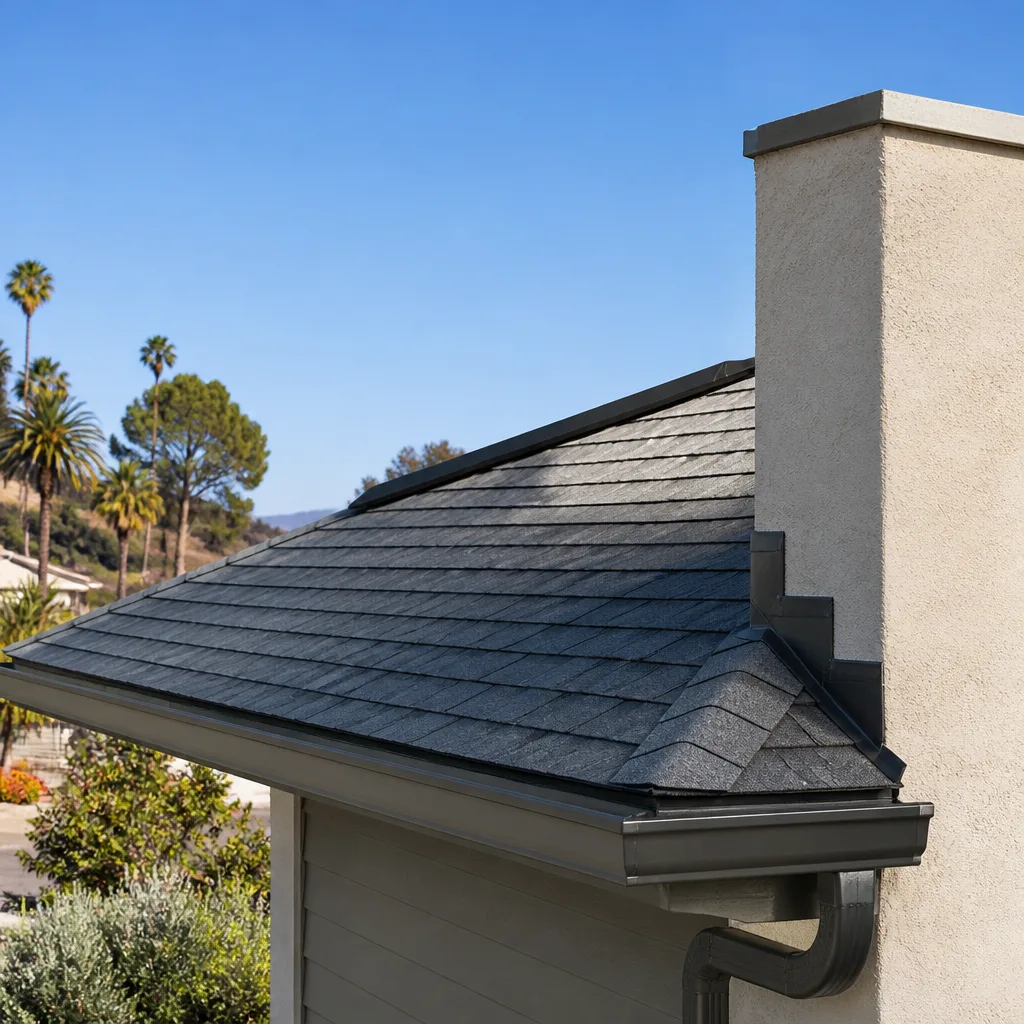
Flashing integrity. Flashing is the metal that seals transitions: where the roof meets a wall, around chimneys, at valleys, and around skylights. It’s the most common leak point, and it degrades quietly. Wind-driven rain finds failed flashing. Ask for an inspection of every transition, not just the field of shingles.
Drainage capacity. Gutters and downspouts sized for average rain can overflow during an atmospheric river, sending water against the foundation and into the crawlspace. Check that downspouts discharge well away from the house and that gutters aren’t undersized or clogged. If your gutters are original to an older roof, replacement may be part of the solution.
- Inspect attic-side connections for metal ties and straps at every rafter-to-wall junction.
- Check every flashing transition: walls, valleys, chimneys, skylights, and vent penetrations.
- Confirm downspouts discharge at least several feet from the foundation, not directly against it.
- Look for granule loss, lifted or missing shingles, and any sagging in the roof plane.
- Have the roof manufacturer’s installation requirements verified, since wind ratings depend on proper nailing patterns and underlayment.
When it’s time to replace, the material brands matter for how the roof performs. We work with GAF, CertainTeed, Owens Corning, IKO, Atlas, Tamko, and Boral, and the written specification should match the wind exposure your Sunnyvale roof actually faces rather than whatever’s cheapest on the truck.
Drainage and Foundation: Keeping Water Away From the House
Three inches of rain in 24 hours stresses every part of a home’s water management. The goal is simple: get water away from the foundation and keep it moving. Where that fails, you get saturated soil, hydrostatic pressure against foundation walls, crawlspace flooding, and eventually foundation movement.
The sequence to check, in order of impact:
- Grading. Soil should slope away from the foundation on every side. Settled or backfilled soil that slopes toward the house is the most common drainage failure and the easiest to correct.
- Gutters and downspouts. Every downspout should discharge onto a splash block or extension that carries water several feet from the foundation. Short downspouts that dump at the base of the wall are a direct path to a wet crawlspace.
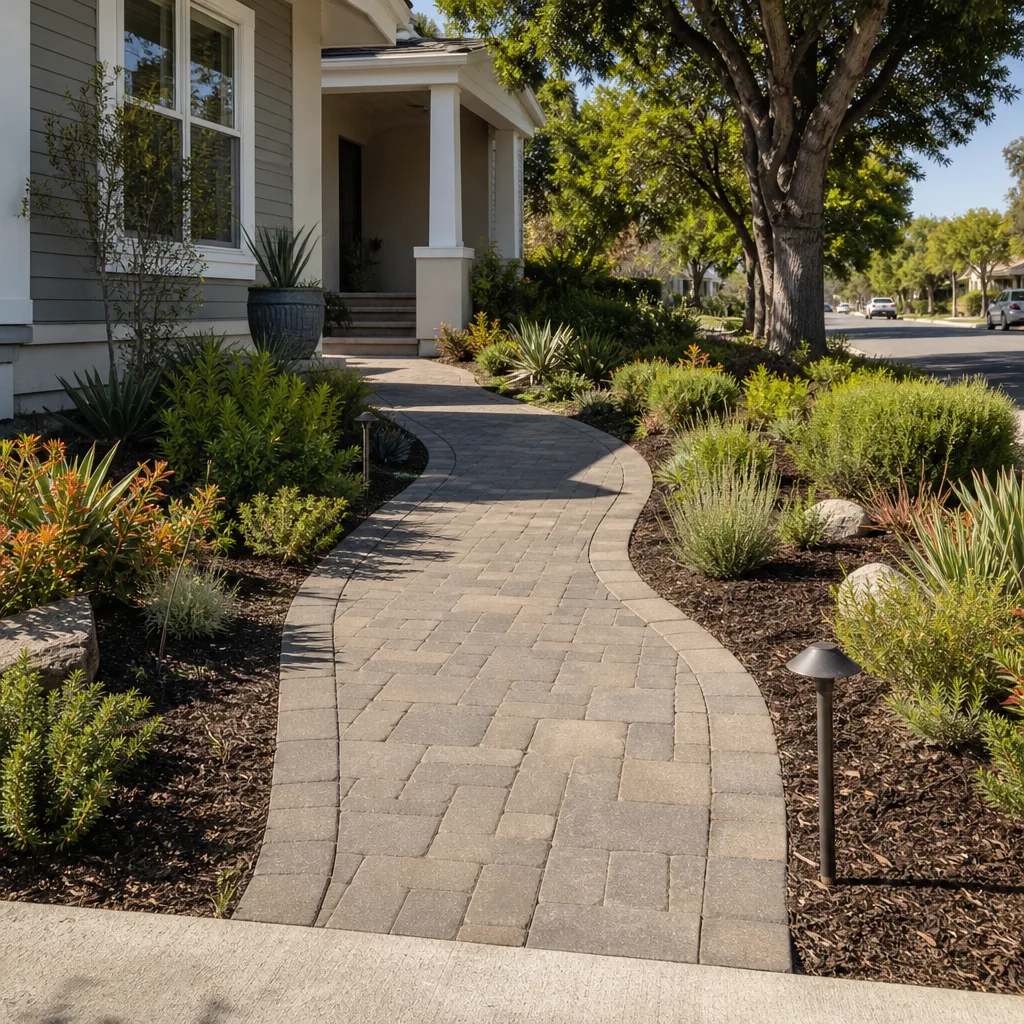
- Surface drainage. Where the lot can’t shed water by grading alone, a French drain or a swale redirects it. This is where hardscape decisions connect to drainage: a driveway & pavers installation built with proper slope moves water away, while a flat impermeable slab pushes it toward the house.
- Crawlspace vents and vapor barrier. A vented, vapor-barriered crawlspace handles some moisture. One that’s sealed wrong or missing the barrier stays damp long after the storm.
- Sump or drainage pit. Where groundwater rises, a sump catches it before it reaches the floor framing. This is a planned retrofit, not something to add mid-storm.
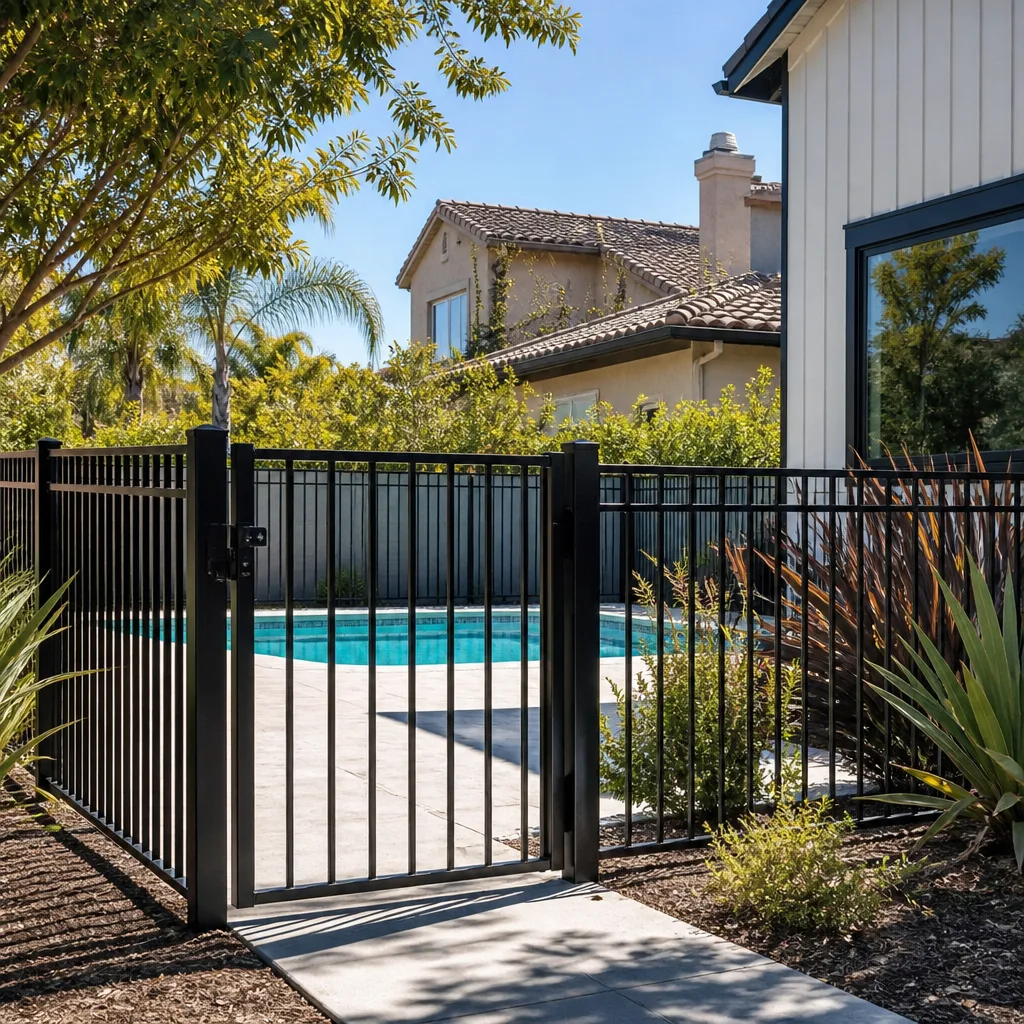
For the hardscape itself, the paver brands we install (Belgard, Unilock, Techo-Bloc, Tremron, and Cambridge Pavers) are specified with base depth and slope in mind, because a driveway is a drainage system as much as it’s a surface. Perimeter grading and hardscape should be planned together, especially on Sunnyvale lots where the house sits close to the property line. The same is true of a fence installation, which can either block or channel surface flow depending on how the posts and panels sit relative to grade.
Pre-Emergency Documentation Checklist
After a seismic event or a major storm, insurance claims and permit-expedited repairs move much faster when you already have the documentation. The time to build that file is before anything happens. Our experience working through post-event repairs is that the homeowners who can produce a clean pre-event record get decisions faster.
What to photograph and measure, room by room and system by system:
- Full exterior elevation shots from all four sides, plus roofline, gutters, and downspouts.
- Interior photos of every room, including ceilings and floors, before you move furniture for the shot.
- Close-ups of every window and exterior door, with brand and model identified where visible.
- Crawlspace and attic photos: foundation, cripple wall, anchor bolts, rafters, and roof connections.
- Systems records: water heater, HVAC, electrical panel, and any past retrofit work with permits.
- Measurements: room dimensions, ceiling heights, roof pitch, and lot dimensions.
- Appliance and fixture documentation: serial numbers and model numbers for anything you’d be claiming.
- Receipts and warranties for recent work, including the written estimate or contract and the final inspection sign-off.
The file should include a dated inventory list and be stored somewhere you can reach even if the house isn’t accessible: a cloud folder and a physical copy kept off-site. It’s also the baseline for any future Construction Sunnyvale project, because it tells any contractor exactly what’s there before they start. Take the photos every couple of years or after any major upgrade so the record doesn’t go stale.
Retrofit Programs and Seismic Safety Incentives
California has taken seismic retrofit seriously at the state level, and Santa Clara County homeowners have real options. The most established program is the California Residential Mitigation Program (CRMP) and its Earthquake Brace + Bolt (EBB) initiative, which helps offset the cost of bracing cripple walls and bolting older homes to their foundations. Eligibility depends on the home’s age, construction type, and location, and the program runs in cycles with limited registration windows, so check the program’s site for the current status and whether your Sunnyvale address qualifies.
A few practical points:
- EBB is aimed specifically at older wood-frame homes with raised or cripple-wall foundations, which describes a lot of Sunnyvale’s pre-1980 stock.
- Programs typically require work to be permitted and inspected, so the retrofit has to be done properly and documented.
- Beyond EBB, some utility, city, and county programs come and go. It’s worth checking with the City of Sunnyvale building department and your utility provider for current incentive offerings.
- Your homeowner’s insurance may also reflect seismic mitigation. Ask your insurer what documentation they want after a retrofit is complete.
None of this is our program to offer, and we won’t pretend otherwise. What we can do is build the work to the standard those programs require, pull the permits, and hand you a documented scope that supports the application. If a program asks for specific bracing details or connector schedules, the plan set and inspection record show it. We’d rather see a homeowner get the incentive than have the work done without the paperwork.
Post-Emergency Response: Assessing Damage Before Re-Entry
After a seismic event or major storm, the first construction question is whether the house is safe to enter. That’s a structural assessment, not an emotional one. The U.S. has a standard system of placards used by building officials: green (inspected and safe to occupy), yellow (restricted use with specific hazards to address), and red (unsafe, not to be entered). The placards are posted by the city’s building department inspectors, and they determine what happens next.
What typically triggers a red tag:
- Partial or total collapse of a wall, roof, or floor section.
- Visible separation of the house from its foundation, or a cripple wall that has racked.
- Significant leaning, out-of-plumb walls, or a chimney that’s separated and poses a falling hazard.
- Hazardous conditions like gas leaks, downed electrical lines, or structural fire damage.
What typically triggers a yellow tag:
- Localized damage: a cracked foundation wall, a damaged roof section, or a compromised addition.
- A structure that’s basically sound but has specific areas to avoid or secure before occupancy.
- Lateral bracing needed, or a temporary repair required before full occupancy is restored.
The safe assessment sequence before you go back in: confirm the gas and electrical are shut off if there’s any doubt, look for visible structural separation or leaning from outside, and don’t enter a red-tagged or visibly compromised structure. A trained structural professional confirms the call before you reoccupy. Our technicians have up to 10 years of experience and can walk a structure with you, but the placard comes from the city inspector.
How to Initiate Emergency Repair Work Quickly
Once you have the building department’s assessment, repair work needs to move efficiently. The sequence that works:
- Get the inspection report. The placard is the starting point. Ask what specifically triggered it and what the inspector needs to see to clear it.
- Contact your insurer and document everything. Your pre-event file makes this faster. Photograph the damage as you found it before any cleanup.
- Secure the exterior. Boarding, temporary roofing, or shoring may be needed to prevent further damage. This work is often done under an emergency permit.
- Get the scope in writing. A written line-item estimate sets the plan and the price. It’s what the insurer needs and what the contractor builds to.
- Pull the permits and get the engineering right. Emergency repair and permanent rebuild are separate phases. The temporary fix may be cleared quickly; the permanent work still needs proper permits and, for structural repairs, engineering.
- Schedule the rebuild work in scopes. If the damage touches roof, framing, and interior, one contractor coordinating all three is faster than separate trades trying to sequence around each other.
From the roof to the driveway, the trades on a serious repair don’t line up neatly: the roof repair protects the interior, the framing work may affect the roof attachment, and the drainage remediation protects the repaired foundation. That’s why having a single contractor coordinate the whole repair matters after an event, when the schedule is the thing you care most about. We coordinate across roofing, structural work, windows, and exterior, and we pull the permits and pass the inspections so the rebuild is documented and insurable.
Common Mistakes to Avoid
- Treating your supplies as the whole plan. A go-bag doesn’t stop a cripple wall from racking. If you’ve never had a structural assessment, that’s the bigger gap. Start there.
- Assuming a roof that doesn’t leak in normal rain is fine. Atmospheric river events push water through weak flashing and undersized gutters. Get the transitions and drainage checked before the season.
- Letting water discharge against the foundation. Downspouts that dump at the base of the wall put stress on your crawlspace and foundation. Extend them or add splash blocks.
- Skipping the pre-event photo file. Claims and permit-expedited repairs move faster with a dated photo inventory. Take it before anything happens, and update it after every project.
- Doing unpermitted retrofit work. Unpermitted bracing and bolting can cost you incentive eligibility and complicate insurance. Permits and inspections show the work was done right.
- Re-entering a tagged structure to “just grab a few things.” A red or yellow tag is there for a reason. Wait for the inspector’s clearance or a professional assessment before reoccupying.
- Hiring separate contractors for each phase of a repair. Roof, framing, and exterior scopes interact. One contractor coordinating all of them keeps the plan coherent and the schedule moving.
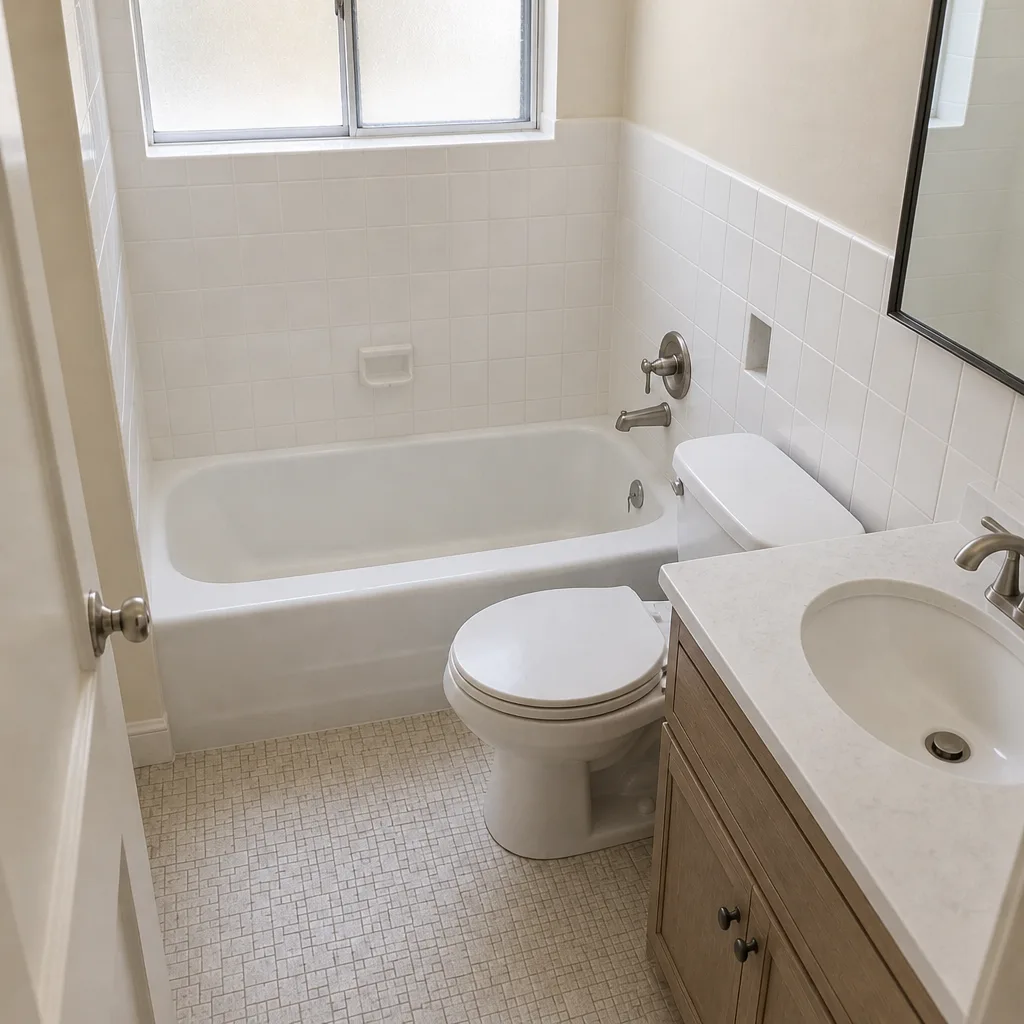
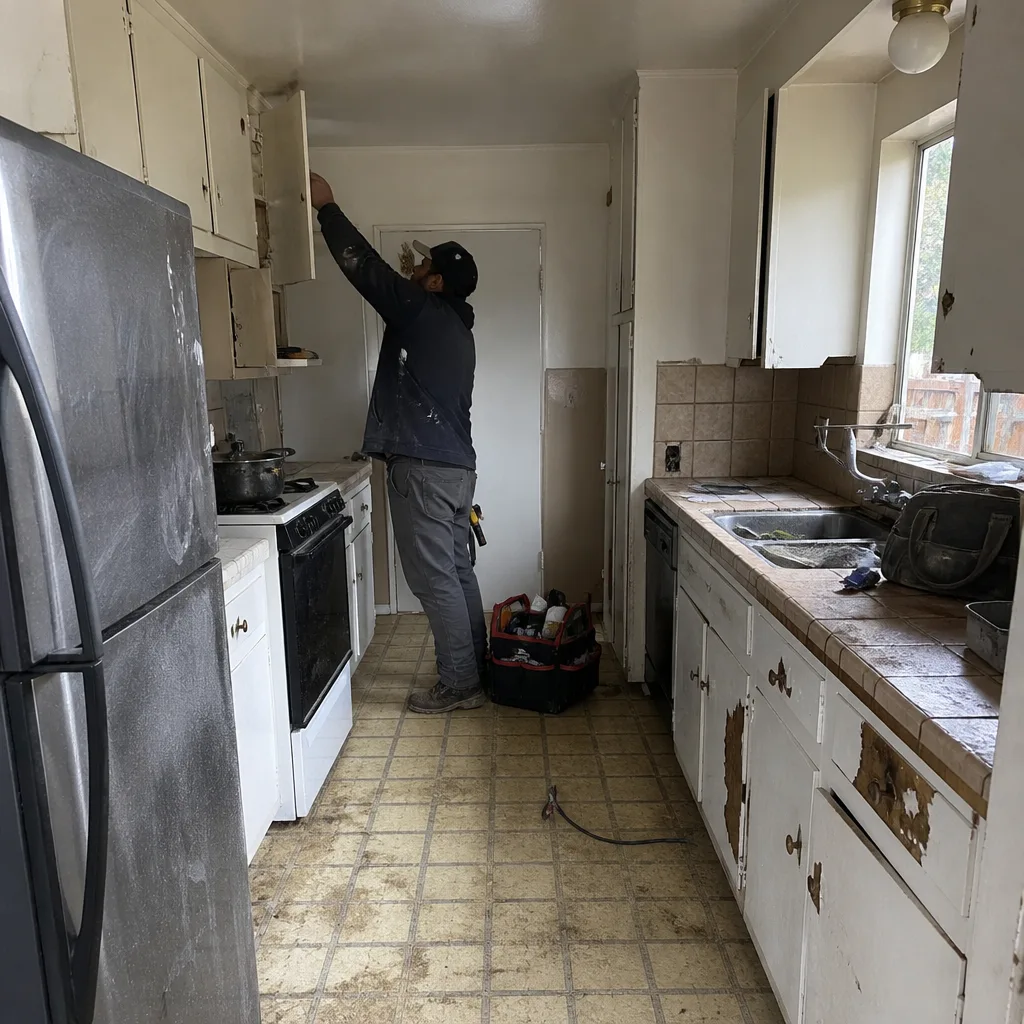
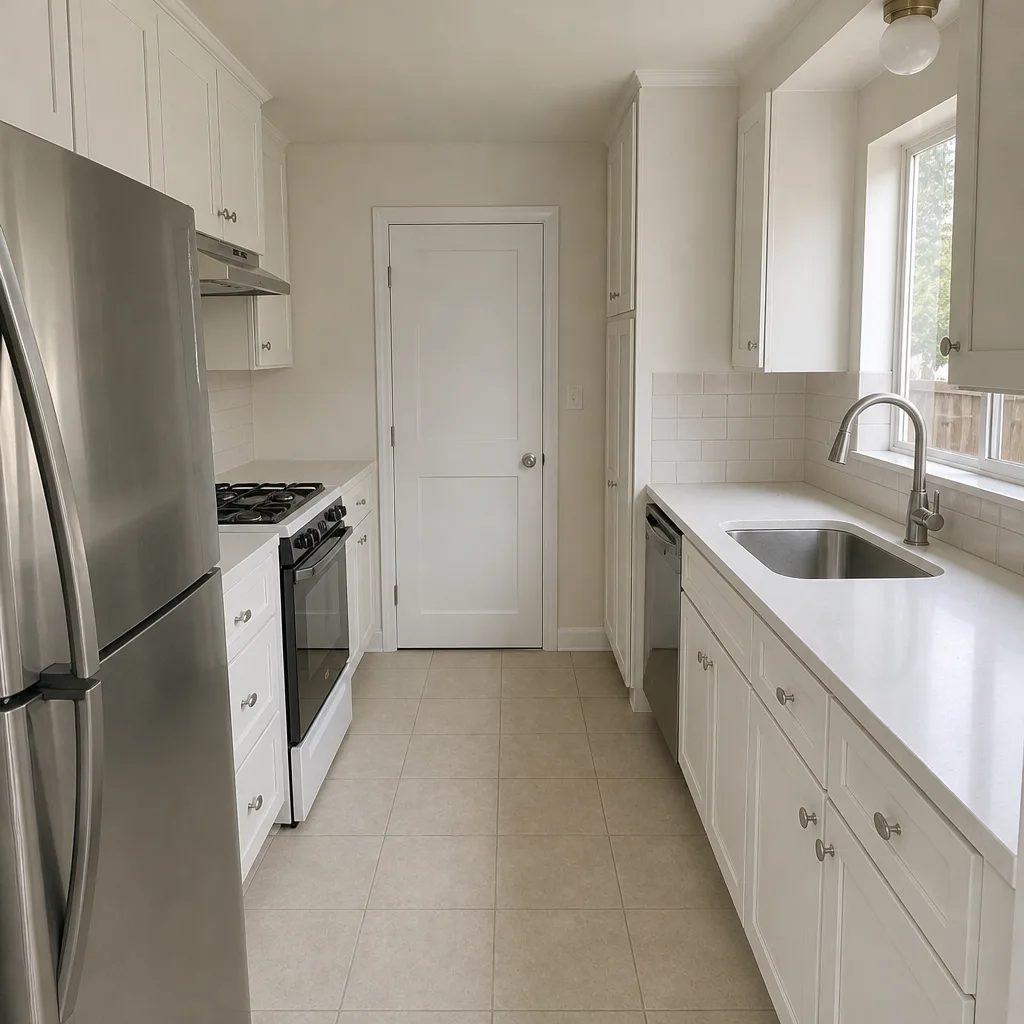
See the difference
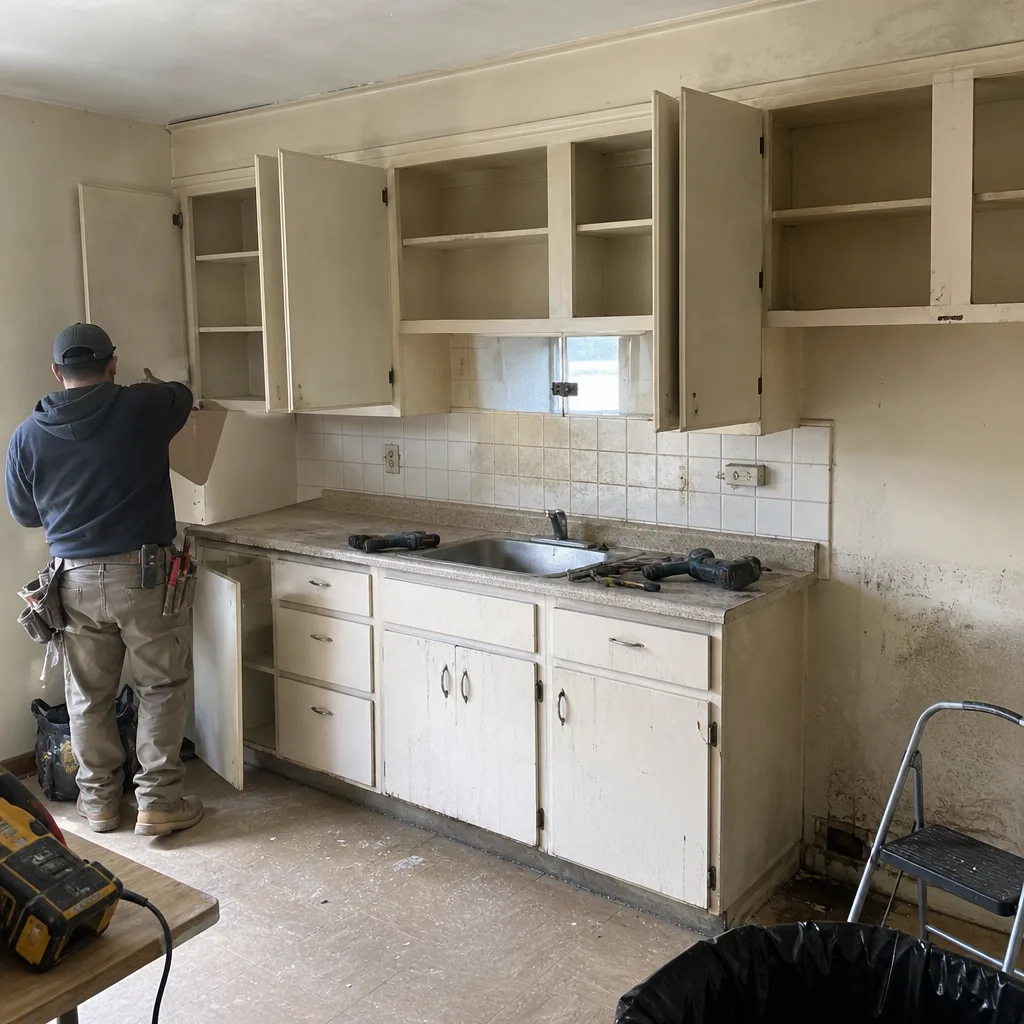 Before
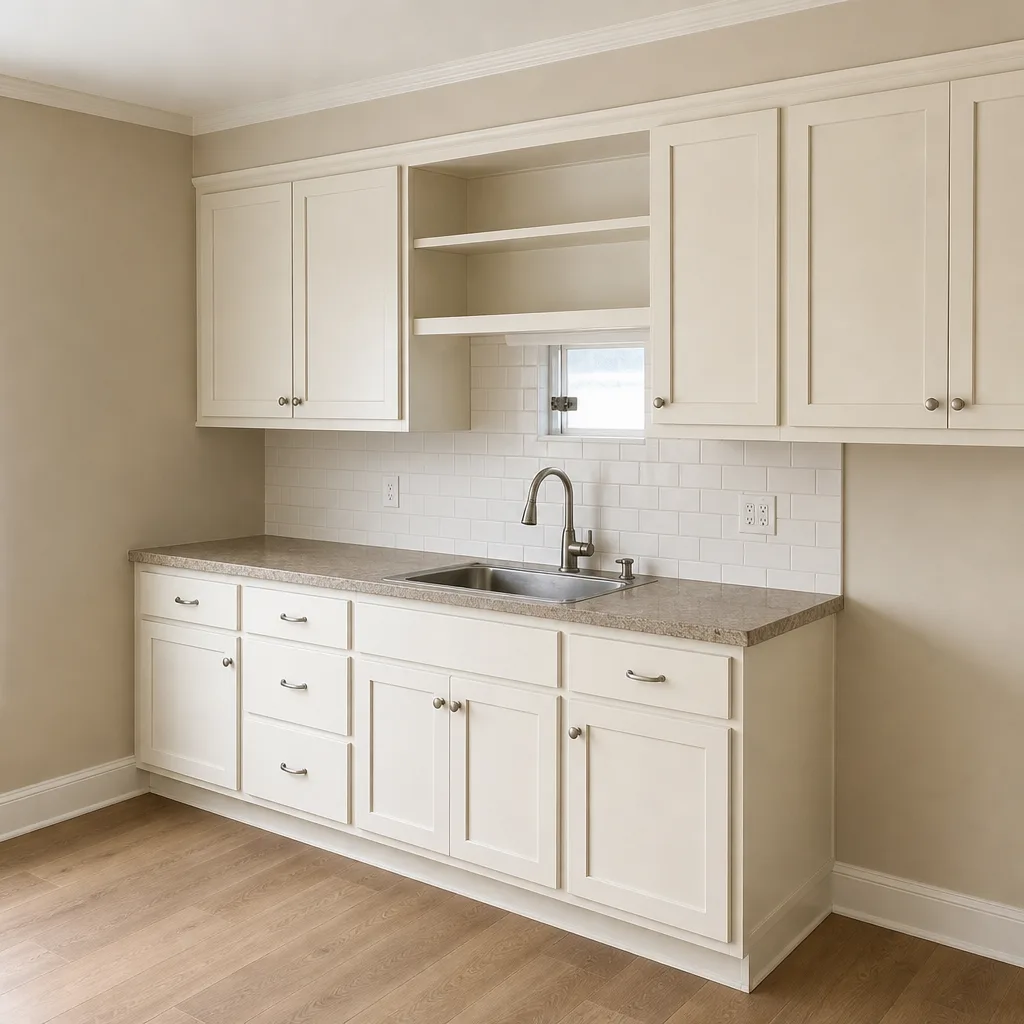 After
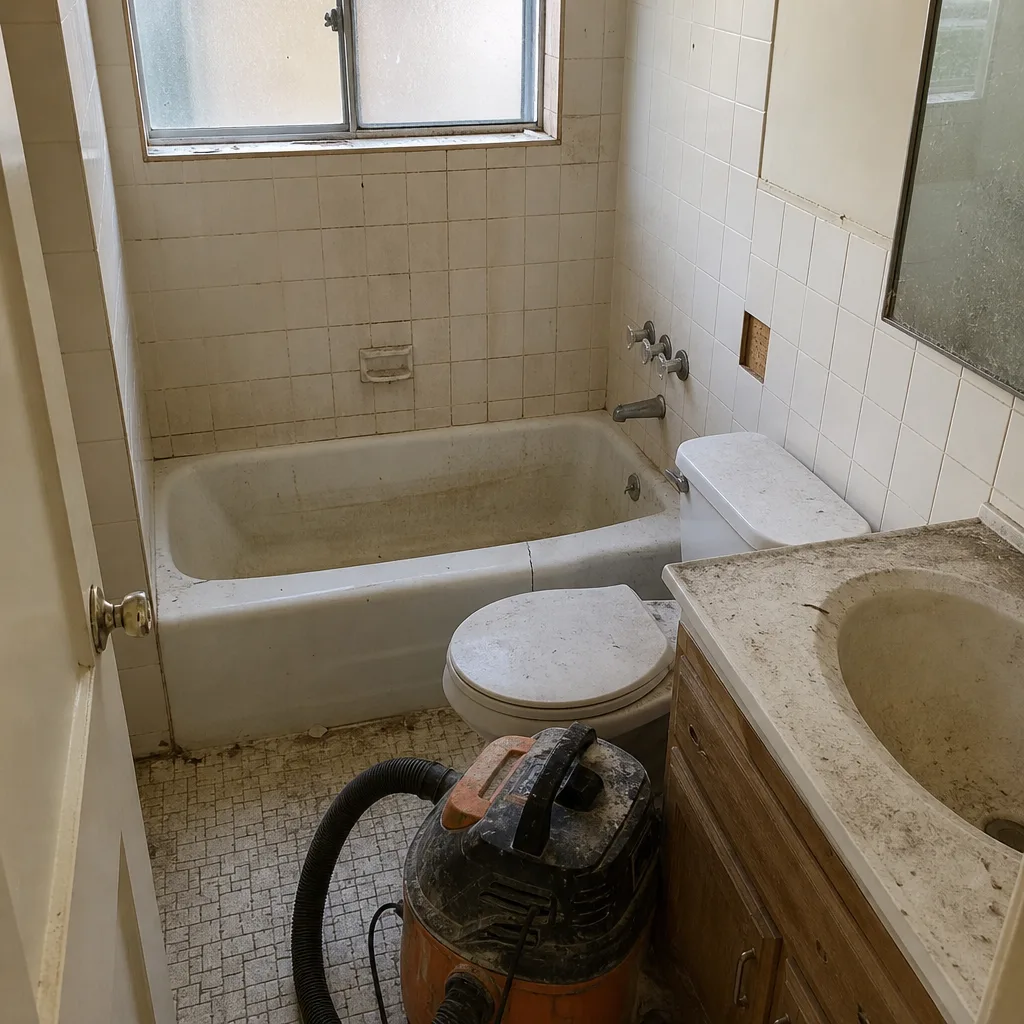 Before
 After
 Before
 After
When to Call a Professional
Some of this is inspection you can do yourself: walking the perimeter, checking downspouts, photographing rooms. But anything structural needs a trained eye. Call when you have a cripple wall or garage opening you haven’t had assessed, when your roof shows lifting shingles or failed flashing, when water pools against the foundation, when a seismic event leaves visible cracks or separation, or when a city inspector tags your home. Call before you start a major remodel if your foundation is pre-1980, since the retrofit is cheaper done alongside the project than as a separate tear-out. Construction Sunnyvale offers free estimates in Sunnyvale – call (888) 255-9137. We answer 24/7. Fast dispatch from 7am to 7pm, Sunday through Friday.
Frequently Asked Questions

For most pre-1980 Sunnyvale homes with crawlspaces, cripple wall bracing and bolting is the highest-value retrofit. It addresses the most common collapse mechanism in seismic events. A structural assessment will confirm whether your home has an unbraced cripple wall or another vulnerability that matters more.
Check attachment hardware in the attic, every flashing transition, and your gutter and downspout capacity. A roof that sheds ordinary rain can still fail under concentrated storm rainfall if flashing is compromised or downspouts discharge against the foundation. Call (888) 255-9137 for an inspection – estimates are free.
Yes. California’s Earthquake Brace + Bolt program helps offset cripple wall bracing and foundation bolting for qualifying older homes, and it runs in limited registration cycles. Check the program’s current status and eligibility, and ask your insurer whether they want documentation after the work is done.
A red tag means the building is unsafe to enter; a yellow tag means restricted use with identified hazards. Both are posted by the city’s building department inspector after an assessment, and the tag determines what repairs and clearances are needed before occupancy.
No. The written estimate sets the price and the scope. For emergency and permanent repair, a line-item written estimate is what your insurer needs and what we build to. Call (888) 255-9137 for an exact quote – estimates are free.
Yes. Permit-pulled and inspected work is what makes the retrofit and the repair documented, insurable, and eligible for incentive programs. We handle the permits and coordinate the inspections as part of the scope.
Cripple wall bracing and bolting is typically a short, focused project, while soft-story bracing and structural repair take longer because they need engineering and inspection. The written estimate lays out the schedule for your specific scope. Call (888) 255-9137 to get a clear timeline.
The Bottom Line
Sunnyvale homes face real seismic and storm exposure, and the construction layer of preparedness is what actually protects them. Get the structural assessment: cripple walls, garage openings, and soft-story conditions. Verify roof attachment, flashing, and drainage so atmospheric river rain stays outside. Build a dated photo and records file before you need it. Look into California’s retrofit programs and do the work permitted and inspected. And know the post-event sequence: red or yellow tag, safe assessment, written scope, permits, coordinated repair. One contractor, every trade, from the roof to the driveway. Call Construction Sunnyvale at (888) 255-9137 to schedule your free estimate. We answer 24/7. Fast dispatch from 7am to 7pm, Sunday through Friday.
Written by the team at Construction Sunnyvale.