Last updated November 18, 2026
Free written scope consultation - allowances, timeline, and change-order rules on paper before a single trade is scheduled
Driveway & Pavers Troubleshooting in Sunnyvale: Common Problems and How to Fix Them
If your pavers are sinking in the same spot every rainy season, resetting them without fixing the drainage beneath is just paying for the same repair twice. That’s the piece most homeowners miss. They see a dip or a wobble, they call for a lift-and-relay, and a year later the same dip is back. The paver didn’t fail. The thing under it did. This guide is built to help you tell the difference. We’ll walk through the three root causes behind almost every paver problem in Sunnyvale, how our wet winters and dry summers change the way joint sand behaves, how to spot cosmetic staining versus a moisture problem that runs deeper, and the 20-minute check you can do yourself before you call anyone. By the end, you’ll know what you’re actually looking at.
Quick Answer
Most driveway paver problems in Sunnyvale come down to one of three root causes: a base that wasn’t compacted to depth, drainage that sends water under the pavement instead of away from it, or edge restraint that has failed and let the field spread. Each one looks similar on the surface but requires a completely different repair. Resetting pavers without addressing the root cause is why the same sinking spot returns every winter, and diagnosing correctly before any work starts is what makes a repair last.
Styles & brands we work with
- Kitchen remodeling
- Bathroom remodeling
- Home additions & ADU
- Roofing
- Windows & doors
- Driveway & pavers
- Fence
Table of Contents
- Why Paver Problems Keep Coming Back
- The Three Root Causes: Base, Drainage, Edge Restraint
- Joint Sand, Polymeric Sand, and Sunnyvale’s Wet-Dry Cycle
- Efflorescence vs. Subsurface Moisture: How to Tell
- Partial Repair vs. Full Section Rebuild
- 20-Minute Homeowner Diagnostic Before You Call
- What Repairs Typically Cost in Sunnyvale
- The Best Time of Year to Fix Paver Problems in Sunnyvale
Why Paver Problems Keep Coming Back
A paver is the most forgiving surface you can put on a driveway. It flexes. It drains. Individual units can be lifted and reset. That flexibility is also why paver failures are so easy to misread. When a paver sinks, the paver isn’t the problem. It’s the passenger. Something beneath it settled, shifted or washed out, and the paver followed.
That distinction matters because the repair cost and the repair scope are totally different depending on what actually moved. If the base is sound and one paver was set high, a lift-and-reset is a short morning’s work. If the base has lost compaction under a 4-foot circle because water has been running under the edge for two winters, that circle has to come out to bare subgrade and be rebuilt. If you reset the pavers on top of an uncompacted or waterlogged base, you’ll be looking at the same dip next spring.
In Sunnyvale, the pattern repeats with the seasons. Our winters deliver steady rain over weeks, not brief downpours, and our summers are long and dry. That cycle is hard on joint sand, hard on edge restraints, and hard on any base layer that wasn’t compacted in lifts or wasn’t protected by proper drainage. We’ve seen plenty of driveways across Sunnyvale that were laid beautifully and failed early for one reason: the base was treated as an afterthought. The pavers are the visible 10 percent. The base is the other 90 percent, and it’s the part that decides whether you’re doing this once or twice.
So the goal of this guide isn’t to tell you which paver brand to pick. It’s to help you figure out which failure you have, so the fix is aimed at the right layer.
The Three Root Causes: Base, Drainage, Edge Restraint
Nearly every paver problem in Sunnyvale traces to one of three failures. They overlap, and more than one can be present, but one is usually the trigger. Getting the trigger right is the whole ballgame.
1. Base Compaction Failure
This is when the crushed aggregate under the pavers wasn’t compacted enough, wasn’t deep enough, or was laid in one thick lift instead of several thin ones. A driveway needs a compacted base built up in layers, each one compacted before the next goes down. Skip a lift or rush the compaction and the base has trapped air and loose material. Traffic and water do the rest.
What it looks like: a broad, gradual dip, often in the wheel path where the car parks, spreading over a wider area rather than a sharp hole. Pavers near the dip may be slightly loose but the joints hold fairly well. It tends to show up within the first few years, and it feels soft or spongy underfoot after rain.
Why it matters: this is a rebuild from the base up. You cannot fix a compaction failure by adding sand or resetting pavers. The base has to be excavated to subgrade, rebuilt at the right depth, and compacted in lifts.
2. Drainage Failure
Water has to go somewhere, and if the driveway doesn’t slope away from the house or the water has nowhere to leave the pavement, it goes under it. That water softens the base, washes out fines, and creates voids. In Sunnyvale this is the most common root cause we diagnose, because our winter rain is long and gentle. It gives water plenty of time to find a low spot and pool against an edge.
What it looks like: a sharp, localized depression, often near the garage apron, a downspout outlet, or the low corner of the driveway. You may see mud or silt pushed up through the joints after heavy rain, or a persistent wet patch that dries days after the rest of the driveway. Pavers in that zone feel loose and tilt.
Why it matters: this repair has to solve the water first. Regrade the surface, add or clear a drainage path, address the downspout, or install a channel drain. Then rebuild the failed section. If water still runs to the same spot, the repaired section will fail again.
3. Edge Restraint Failure
Pavers need a rigid edge holding them in place on the open sides of the driveway. If the edge restraint is missing, undersized, not spiked into the base, or has cracked and pulled away, the field spreads outward under traffic. Once the field opens up, joints widen, sand washes out, and the whole surface loosens from the perimeter inward.
What it looks like: a widening gap at the outer edge, pavers shifting outward, joints near the edge noticeably wider than joints in the middle, or visible movement when you step on the perimeter row.
Why it matters: this one is the cheapest to fix early and the most expensive to ignore. A failed edge restraint catches water and dumps it under the pavement, which then triggers a drainage failure. Restore the edge and re-compact the perimeter and you often stop a much larger problem.
Quick comparison
- Base compaction failure: broad dip, wheel path, soft after rain, appears within a few years. Fix = rebuild base.
- Drainage failure: sharp localized depression, wet patch, silt in joints, near downspouts or low corners. Fix = solve water, then rebuild.
- Edge restraint failure: spread at perimeter, wide edge joints, movement on the edge row. Fix = restore edge and re-compact.
If you’re planning a new driveway rather than a repair, our driveway & pavers work is built around getting these three things right from the start, using brands like Belgard, Unilock and Techo-Bloc so the surface matches the subgrade it sits on.
Joint Sand, Polymeric Sand, and Sunnyvale’s Wet-Dry Cycle
The joint sand is the least glamorous part of the driveway and the part that takes the most punishment from our weather. It’s also where the most homeowner confusion lives.
Regular sand is simply fine aggregate swept into the joints. It locks the pavers against each other through friction and it lets water pass through the surface into the base. It’s the traditional approach and it works, but it has to be replenished. Every winter’s rain washes some out, and Sunnyvale’s dry summer then bakes what’s left into a crust that blows away. By the following winter the joints are low and don’t hold the pavers as tightly.
Polymeric sand is sand mixed with a binder that sets firm once it’s wetted and cured. It’s more resistant to washing out and it holds joints well. The catch is that it doesn’t last forever either. Under our wet-dry pattern, polymeric joints can crack, crumble at the corners or pull away from the paver edge after several seasons, especially near driveways that get heavy tire traffic. When that happens, water gets past it, and the failure mode is now a drainage problem, not a sand problem.
Here’s what the Sunnyvale cycle does to both types, in order:
- First winter: rain soaks the surface and joints. Sand that wasn’t fully swept in or compacted washes down into the base.
- Wet season pooling: any low spot holds water, so joints in that area stay saturated for weeks.
- Dry summer: the surface dries fast, but the base underneath holds moisture longer because the grass and the slope shade it.
- Second and third winter: washed joints mean loose pavers, and loose pavers mean more water intrusion.
Which one should you use? Neither is automatically right. Polymeric sand gives you better joint stability and fewer replenishment cycles; regular sand gives you better drainage and easier repair later. For a driveway with a slight slope and good base, polymeric is a reasonable long-term choice. For a driveway with tight drainage or a history of movement, regular sand plus a properly protected base often holds up better. If you’re not sure which you have now, look at a joint in a shaded spot: if the sand is firm and set, you likely have polymeric. If it’s loose and gritty, you likely have regular.
Whatever your joints are filled with, they will need attention at some point. Knowing the difference between “low joints” and “broken joints” is the difference between a sand top-up and a section repair.
Efflorescence vs. Subsurface Moisture: How to Tell
You notice a white, chalky haze on your pavers after a wet winter. It looks alarming. Most of the time it’s cosmetic. Sometimes it’s a signal of a deeper moisture problem. Here’s how to tell them apart without guessing.
Efflorescence is the white, powdery deposit that forms when water inside the paver or the mortar carries dissolved salts to the surface, then evaporates and leaves salt crystals behind. It’s a normal reaction in any masonry or paver surface that gets wet. It appears on the surface, it’s usually uniform across the affected area, and it brushes away or fades with a bit of dry weather and a soft brushing. It comes back with the next wet season and then goes away again. That cycle is annoying, not structural.
Subsurface moisture intrusion looks different. Instead of an even, chalky film, you see darker wet patches that stay wet long after the rest of the driveway dries. You may see the efflorescence concentrated in a single zone, right where the wet patch is. You may smell a damp, earthy odor at the joints. The pavers in that area tilt or rock. This isn’t the paver sweating; it’s water working its way up from a wet base or a failing joint that keeps feeding moisture.
Three questions sort it out:
- Is the white film uniform or localized? Uniform = likely cosmetic efflorescence. One wet zone = moisture problem.
- Does the area stay wet after the rest of the driveway dries? If yes, water is coming from below or from a persistent source.
- Do the pavers rock or tilt in that area? Movement plus white staining usually means a base or drainage problem, not a surface stain.
For the cosmetic case, patience and a dry season do most of the work, and a proper cleaning for stubborn areas helps. For the moisture case, cleaning won’t fix it. You have to find the water source and repair the joint, edge or base that’s letting it in. If you’re seeing white haze on a fence or pavers because of a splash issue, that’s a separate problem and often worth a look at the fence installation side of things too, since fence bases, footings and drainage all interact with the same slope.
Partial Repair vs. Full Section Rebuild
This is the decision that separates a repair you’ll never think about again from one that has you calling the same contractor a year later. It’s also where we see the most money spent on the wrong scope. Here’s how we think about it.
A partial repair (lift and reset) is appropriate when:
- The base under the affected pavers is firm and compacted, and the failure is one or two high or settled pavers.
- The movement is purely at the surface and the joints around the affected area are intact.
- The water drainage pattern is already correct and the failure was a one-time event, such as a heavy deliverable or a car with a heavy load parked in one spot.
- The area is small, well-defined, and not connected to a low spot in the surface grading.
A partial repair is quick: lift the pavers, check the sand and base, re-set, re-sand and re-compact. It’s a real fix when the base under it is sound.
A full section rebuild is appropriate when:
- The dip returns in the same location every wet season, which means the base is settling or water is eroding it.
- The base under the affected area is soft, loose or clearly not compacted to depth.
- You’ve found a drainage problem: a low spot, a blocked path, a downspout pouring against the pavement, or silt in the joints.
- The edge restraint has failed and the spread reaches several rows in.
- The pavers in the section rock, tilt or have visible humps and hollows that didn’t come from a single incident.
A rebuild means removing the pavers, removing the bedding sand, excavating the failed base to subgrade, rebuilding it at the correct depth in compacted lifts, and then re-setting the pavers and joints. It’s more work up front and it’s the only way to actually fix a base or drainage failure. The partial repair only looks cheaper until you do it twice.
The honest rule of thumb: if the same spot has failed more than once, it’s a rebuild. If it’s a first-time single-paver issue with a sound base, a reset is fine. If you’re at the point where the driveway is beyond repair, or you’re considering a larger project that changes the driveway, our home additions & ADU work often overlaps with grading, drainage and access changes that affect the driveway, and asking about both together usually saves money.
20-Minute Homeowner Diagnostic Before You Call
You don’t need to be a contractor to identify most of what’s wrong. You just need a hose, a level, a broom and 20 minutes. Doing this before you call makes the estimate conversation dramatically more useful, because you’re telling the contractor which symptom you have instead of just “it dips.”
- Map the dip. Lay a straight 2×4 or a long spirit level across the affected area. Where the gap is underneath, note whether it’s a broad, gradual bowl or a sharp, localized depression. Broad = likely base compaction. Sharp = likely drainage.
- Check the slope. Lay the level along the driveway toward the street and toward the garage. Water should shed away from the house. If the level shows the surface is flat or crowned toward the garage, that’s a drainage failure waiting to happen.
- Look at the joints. Are the joints near the dip wider than the rest? Do they have silt or mud pushed up through them? Both point to drainage and edge issues.
- Inspect the edge. Run a hand along the outer edge of the driveway. Is the edge restraint cracked, loose, or missing? Are the end pavers spreading outward? Any movement there is an edge restraint failure.
- Do the water test. Run a hose on the driveway at a steady low flow and watch where the water goes. Does it pool against the garage apron, run along the house, or disappear into a joint? Where it stops is where the repair has to start.
- Check after rain. Look at the driveway two hours after a real rain. Note which spots stay wet. That’s your groundwater map, and it’s the single most useful thing you can tell a contractor.
- Photograph it. Take a wide shot and a close-up. Photos of a dip with a level across it tell a contractor more than a description ever will.
If those seven steps turn up a failed edge, a flat or crowned slope, or silt in the joints, stop there. Those are the three signs that a repair needs a contractor, not a bucket of sand.
What Repairs Typically Cost in Sunnyvale
Paver repair pricing depends on scope, and scope depends entirely on which of the three failures you have. The ranges below are typical estimates for the Sunnyvale market, not exact quotes, and the written estimate you get in person sets the final price. We don’t price over the phone because a photo can’t tell us whether the base is sound.
| Repair type | Typical range | What it covers |
|---|---|---|
| Single-paver reset / small lift-and-reset | $180 – $450 | Lifting a small area, checking bedding sand, resetting, re-sanding, re-compacting |
| Edge restraint repair | $250 – $700 | Resetting or replacing the edge, re-spiking into the base, re-compacting the perimeter |
| Joint sand top-up and re-sanding | $300 – $900 | Cleaning joints, re-filling with regular or polymeric sand, compacting and sealing where appropriate |
| Partial section rebuild (drainage or base) | $1,200 – $2,800 | Excavating the failed area, rebuilding the base in compacted lifts, resetting pavers and joints |
| Full section rebuild with drainage correction | $2,500 – $5,500+ | Grading, drainage path or channel drain, base rebuild, pavers, joints and edge restoration |
| Full driveway replacement (reference) | By written estimate | Removal, base, pavers, edge, drainage, using Belgard, Unilock, Techo-Bloc, Tremron or Cambridge Pavers |
Two honest variables push a repair up. If the failed paver section is over a plumbing line, a downspout or utility that has to be moved, the scope grows. If the pavers are an older shape or brand no longer made, matching the replacement gets harder and we may need to pull from a different row or offer a close replacement. Both of those are things we flag in the free written estimate so there are no surprises once work starts.
What keeps prices down is diagnosing correctly the first time. A $400 edge repair today can prevent a $2,000 section rebuild next winter. That’s the entire case for doing the 20-minute check before calling.
If you want the full picture of new installation pricing as a comparison, that lives on our main Construction Sunnyvale page alongside the other trades we cover.
The Best Time of Year to Fix Paver Problems in Sunnyvale
Paver repair isn’t seasonal the way roofing or exterior painting is, but timing still matters in Sunnyvale because the wet season is when failures reveal themselves and the dry season is when the repair can actually cure.
Fall is the diagnostic season. The first real rain after a dry summer is when dips and wet patches appear. That’s the best time to do the 20-minute check and book an estimate, because you’re seeing the actual failure pattern instead of guessing.
Late spring through early fall is the best repair window. Base compaction, joint sand and polymeric sand all need dry conditions to set properly. Warm, dry weather lets the base dry out before it’s rebuilt and lets the sand cure at the right consistency. If you rebuild a base while it’s saturated, you’re putting good material over a wet subgrade, and that’s a compromised repair.
Winter repairs are possible, but the work is more weather-dependent and the base takes longer to dry before it can be rebuilt. If you have a safety issue, like a trip hazard at the edge or a dip that pools water against the house, don’t wait for spring. Wet-season water against the foundation is a bigger problem than a wet driveway.
Timing rule: if the dip pools water toward the house, fix it now. If the dip is cosmetic and the water is still leaving the property, wait for the dry window and get it right.
Common Mistakes to Avoid
- Resetting pavers over a failed base. This is the most common and most expensive mistake we see in Sunnyvale. If the base under the pavers is loose, uncompacted or waterlogged, resetting the surface just hides the failure. It will come back next wet season.
- Fixing the dip without fixing the water. If the driveway grades toward the garage or a downspout dumps against the edge, the repair is going to fail no matter how good the base work is. Solve the drainage path first, then rebuild the section.
- Adding top sand to fill a dip. Sand will fill the joint but it won’t fix a low base, and it adds nothing to compaction. Once the sand washes out in winter, you’re back where you started, minus the cost.
- Fixing the pavers and ignoring the edge. If the edge restraint is loose or missing, the field is going to spread again. The edge is the cheapest part of the repair and the most important one.
- Treating all efflorescence as cosmetic. Uniform white haze after a wet winter is usually nothing to worry about. A localized wet patch that stays dark and keeps producing white stain is a moisture problem that will undermine the base if it’s ignored.
- Using polymeric sand where the surface drains poorly. Polymeric sand is a good choice for a well-draining, properly sloped driveway. On a surface that pools, sealing the joints can trap water at the paver surface and push the problem to the base. Match the sand to the drainage.
- Assuming a paver problem is a paver problem. It’s almost never the paver. It’s the base, the water or the edge. A contractor who starts by lifting pavers without checking the base depth and the drainage path is starting at the wrong layer.
See the difference
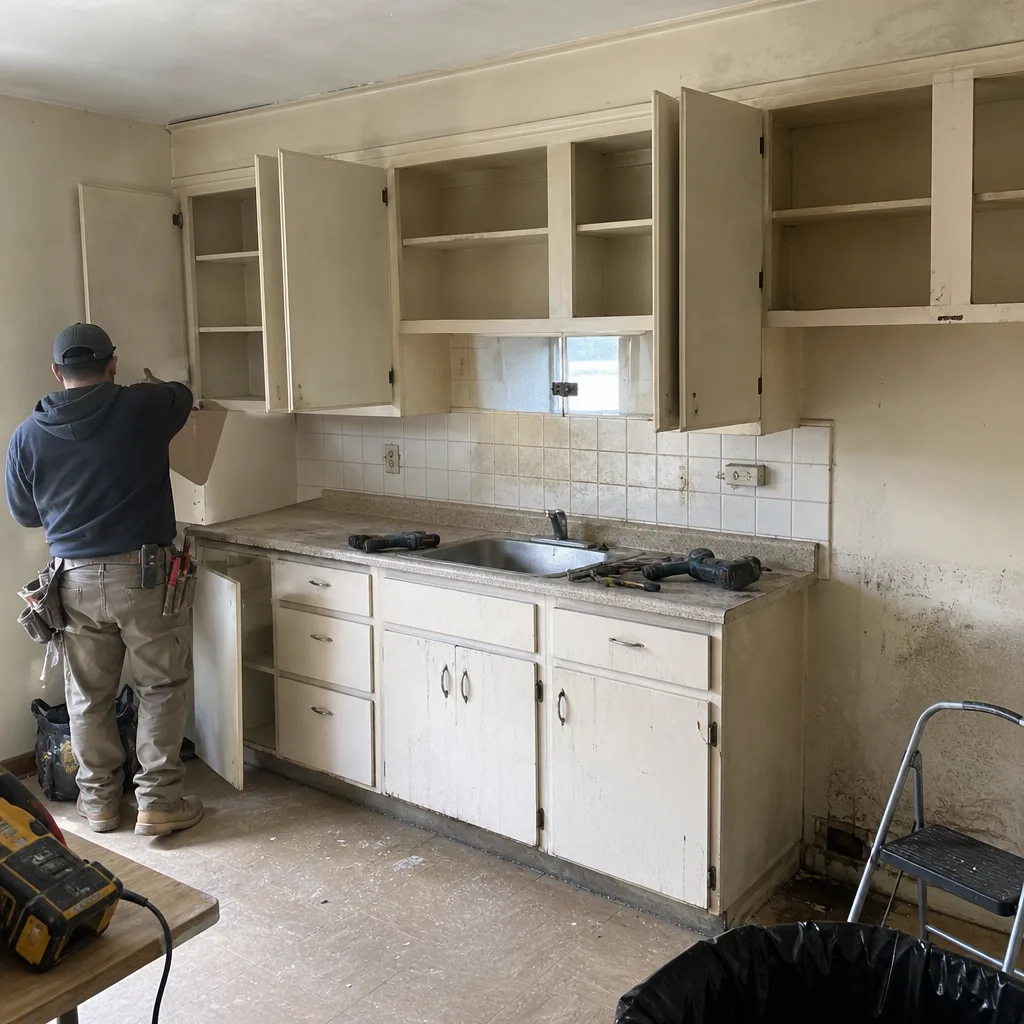 Before
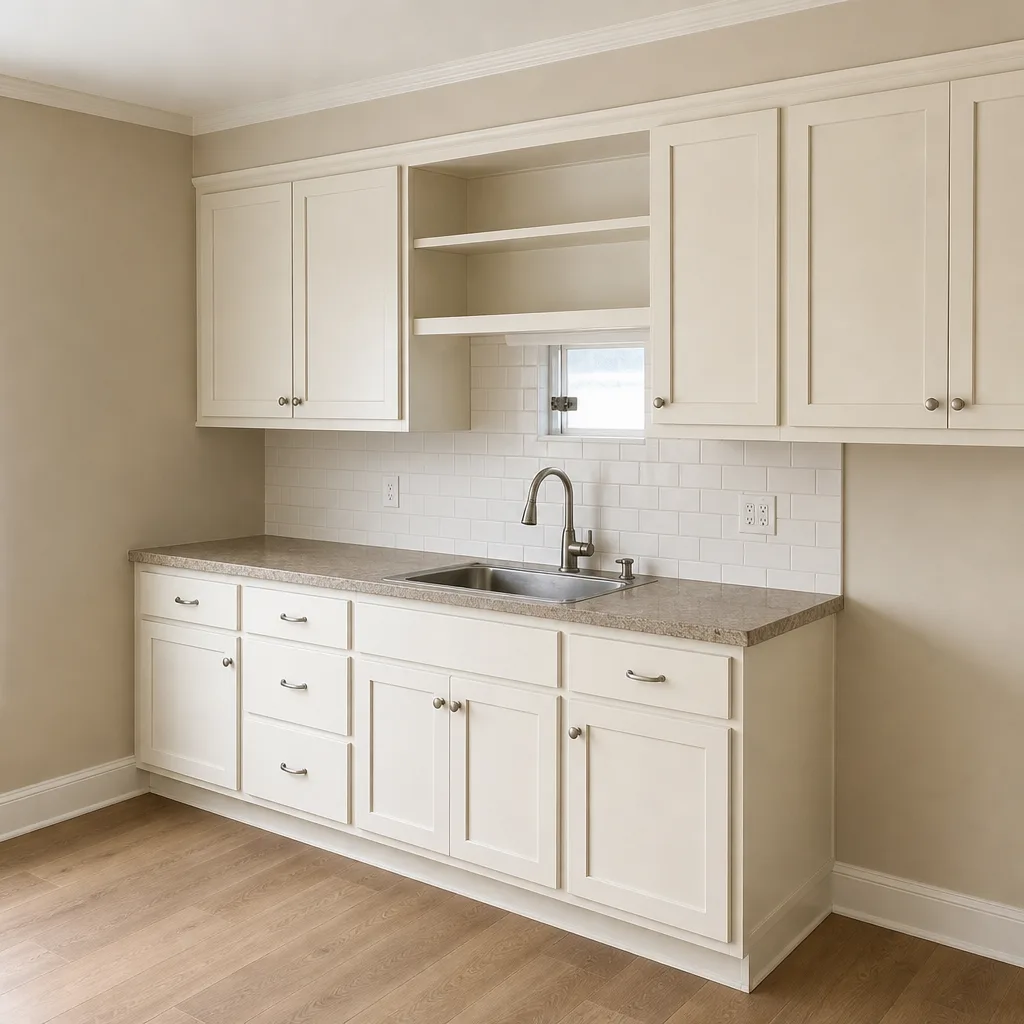 After
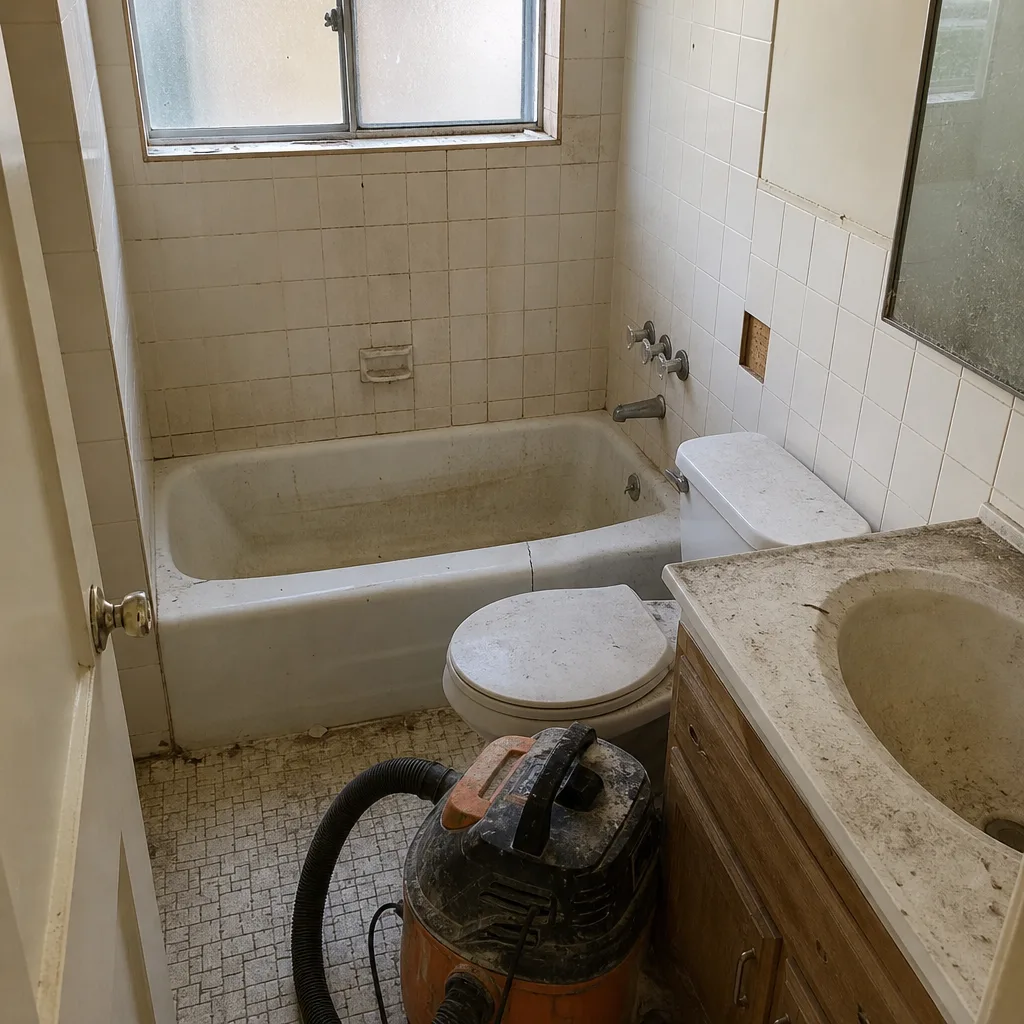 Before
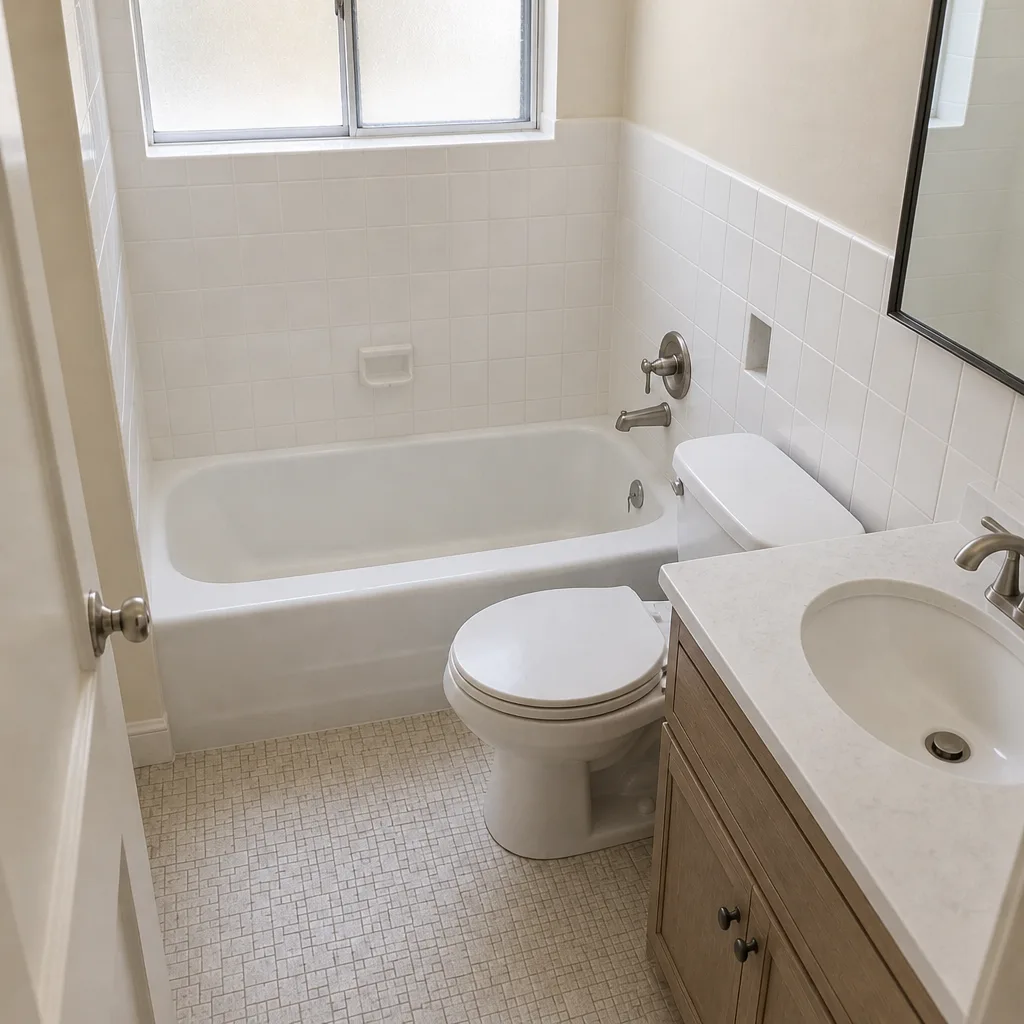 After
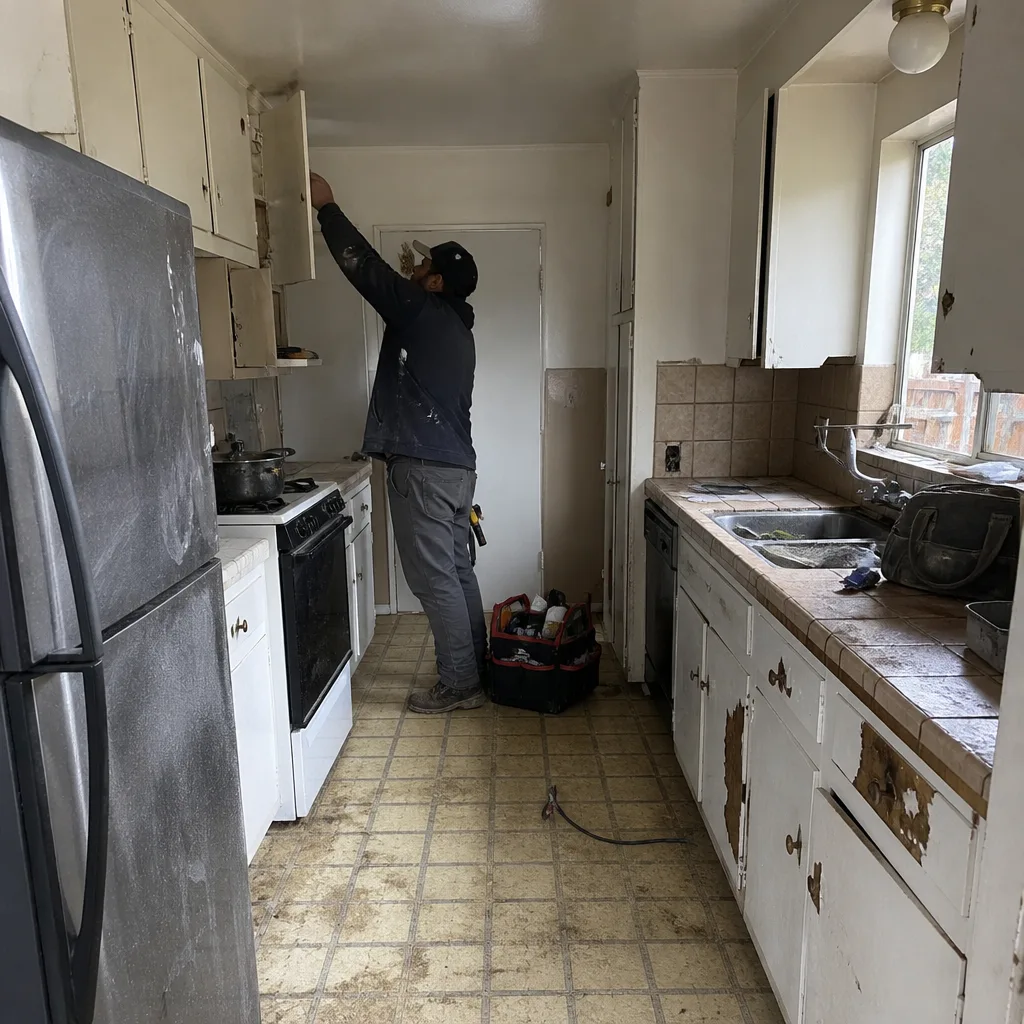 Before
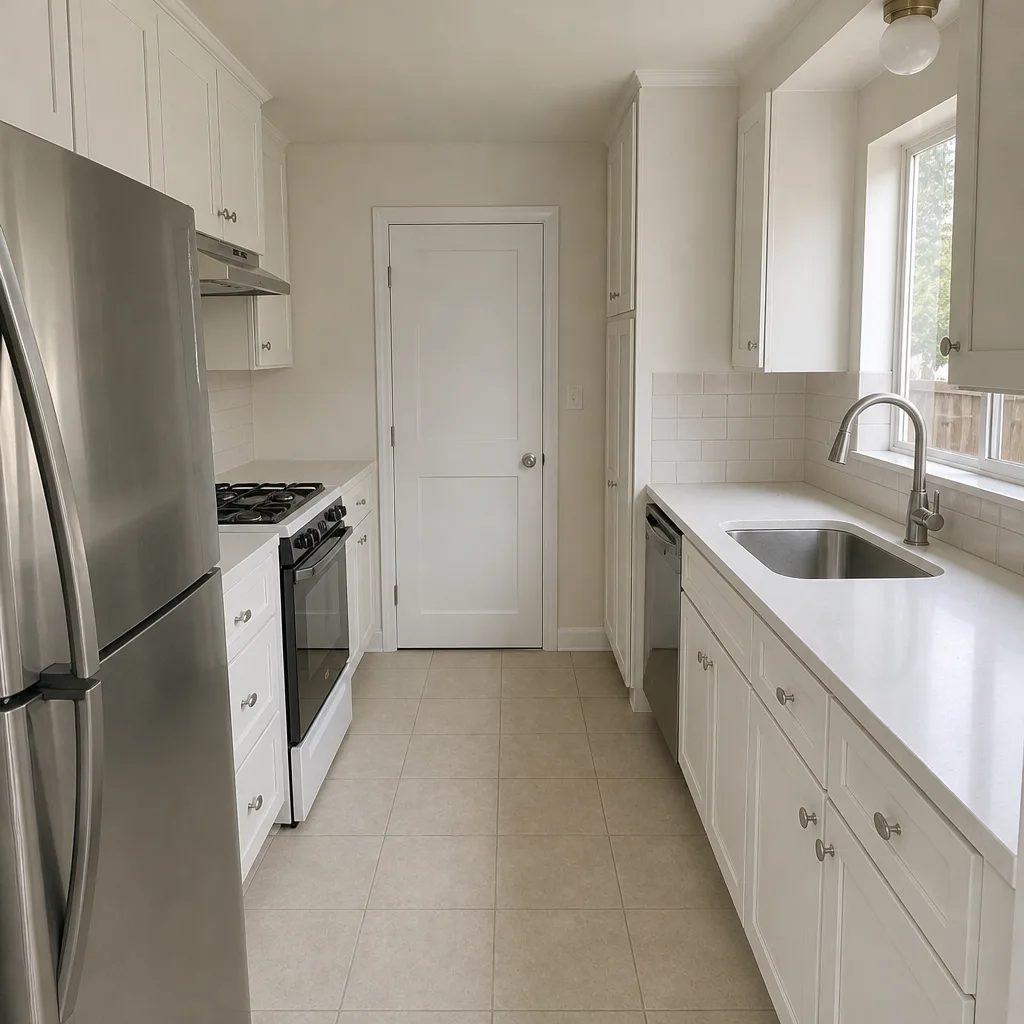 After
When to Call a Professional
Some paver issues are genuinely DIY territory: low joints, a single settled paver, a loose edge cap. Others aren’t, and calling too late costs more than calling early. Call a professional when the dip in your driveway has returned to the same spot more than once, when water is pooling against the house or garage, when the pavers in an area rock or tilt, or when the edge restraint has cracked or spread. Also call if you’re seeing silt pushed through the joints, if a section stays wet for days after the rest of the surface dries, or if you’re not sure which of the three failures you have and you don’t want to spend money on the wrong repair. A lift-and-reset job over a failed base is one of the most common ways homeowners lose money on pavers. Construction Sunnyvale offers free estimates in Sunnyvale – call (888) 255-9137. We answer 24/7, and fast dispatch runs 7am to 7pm, Sunday through Friday.
Frequently Asked Questions
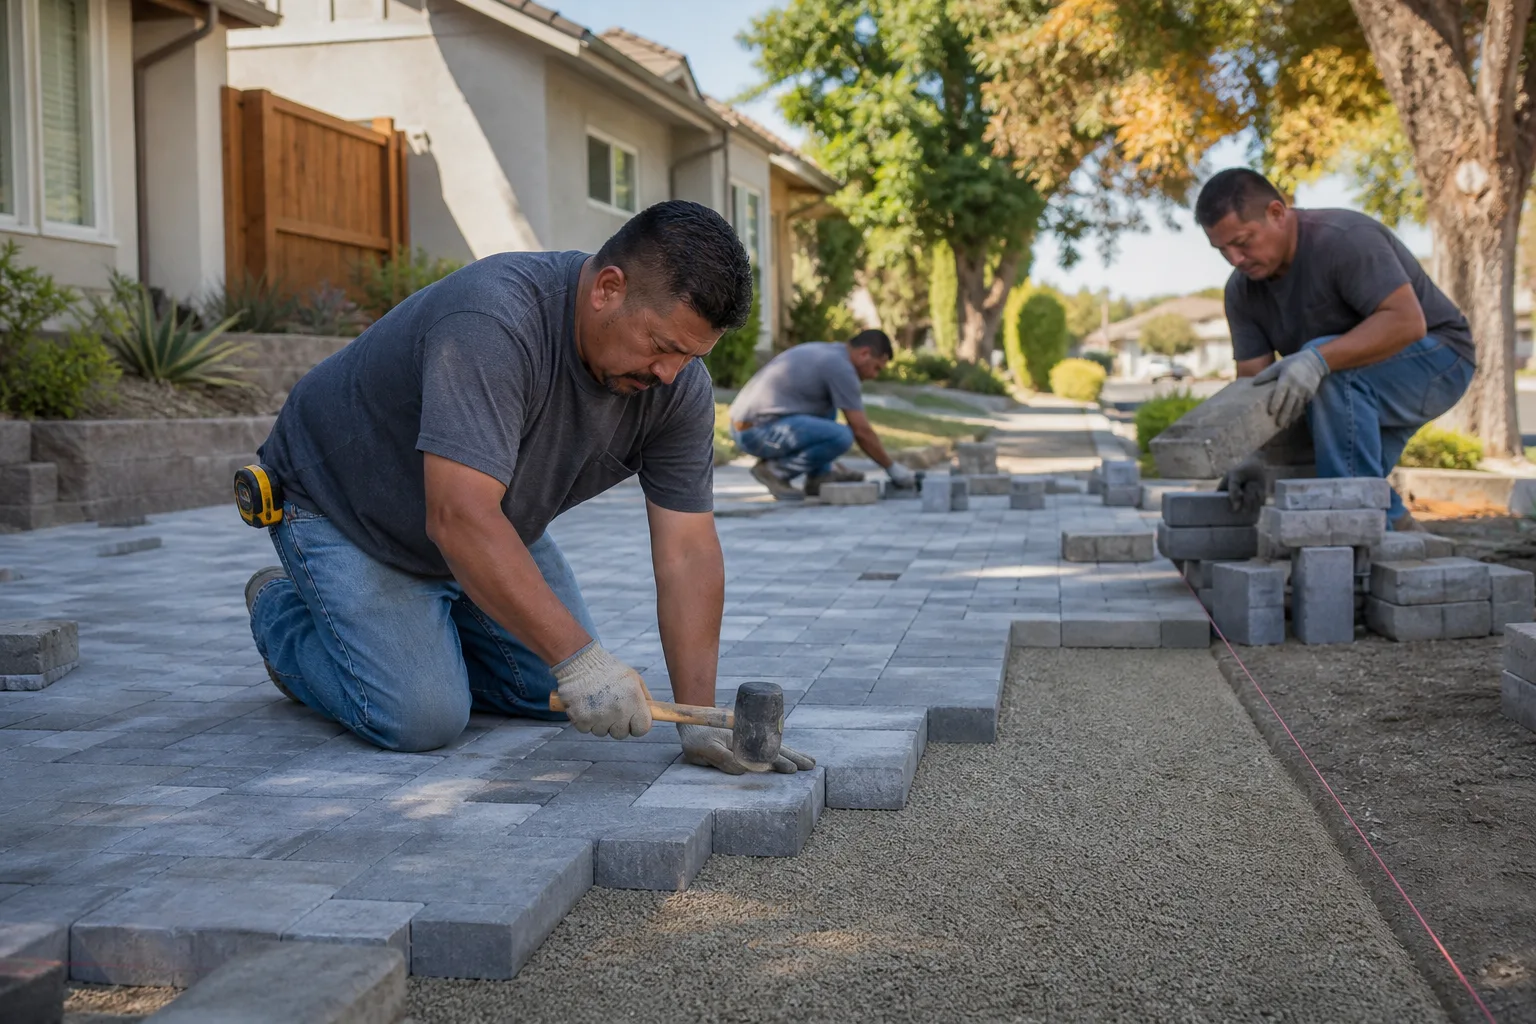
Because the sinking is a symptom of a base or drainage failure, not a paver failure. Our wet winters send water under the pavement at that spot, and each season it erodes a little more base material. Resetting the pavers without fixing the water source and rebuilding the base is why the same spot returns. Call (888) 255-9137 to schedule a free estimate that diagnoses the root cause first – estimates are free.
Base failures usually show as a broad, gradual dip, often in the wheel path, with pavers that feel soft after rain. Drainage failures show as a sharper, more localized depression near a downspout, low corner or garage apron, often with silt in the joints or a wet patch that won’t dry. The 20-minute hose test above will usually tell you which one you have. If the result isn’t clear, call (888) 255-9137 for a free estimate.
Not always. Uniform white haze after a wet winter is usually efflorescence, a cosmetic salt deposit that fades on its own and brushes away. If the white staining is concentrated in one wet zone and the pavers there rock or tilt, it’s more likely subsurface moisture intrusion and it needs a repair. Call (888) 255-9137 for a free estimate if you’re seeing the localized version.
You can, and it’s a reasonable maintenance step for a sound driveway with low joints. It won’t fix a dip caused by base settlement or a water channel, and the new sand will wash out the next wet season. If the joints go low again within a few months, that’s a sign the real problem is underneath. Call (888) 255-9137 for a free estimate on the underlying repair.
Typical estimates run from around $180 to $450 for a single-paver reset up to $1,200 to $2,800 for a partial section rebuild, and $2,500 to $5,500 or more when drainage correction is included. These are typical ranges, not exact quotes; the written estimate sets the final price. Call (888) 255-9137 for a free estimate.
Not on our work. The free estimate is written line by line, and the price you sign is the price you pay. If we open up the base and find something the surface didn’t reveal, we stop and show you before anything changes. Call (888) 255-9137 to schedule your free estimate.
The Bottom Line
Driveway paver problems in Sunnyvale are almost never random. They’re the visible result of a base that wasn’t compacted to depth, drainage that sends water under the pavement, or an edge restraint that’s no longer holding. Each one needs a different repair, and the surface symptom usually tells you which one you’re dealing with. Do the 20-minute check before you call: map the dip, test the slope, look at the joints, inspect the edge, run the hose. If the dip has returned more than once, if water is pooling against the house, or if the edge is moving, it’s time for a professional eye. Fix the cause, not the paver, and the repair will last through many more Sunnyvale winters. The repair conversation starts with a free estimate, and we’re glad to walk the driveway with you.
Call (888) 255-9137 for a free estimate. We answer 24/7. Fast dispatch from 7am to 7pm, Sunday through Friday.
Written by the team at Construction Sunnyvale.